THE UX OF FINAL MAJOR PROJECT | BLOG 09
Design Refinement & Technical Analysis
14/07/21 – 25/11/21 (about 3 months - excluding summer holidays)


 Design Brief: Materialise the obscurity and complexity of the Blockchain System.
Project Member: Yiwei(David) Han, Sue Heeyeon An.

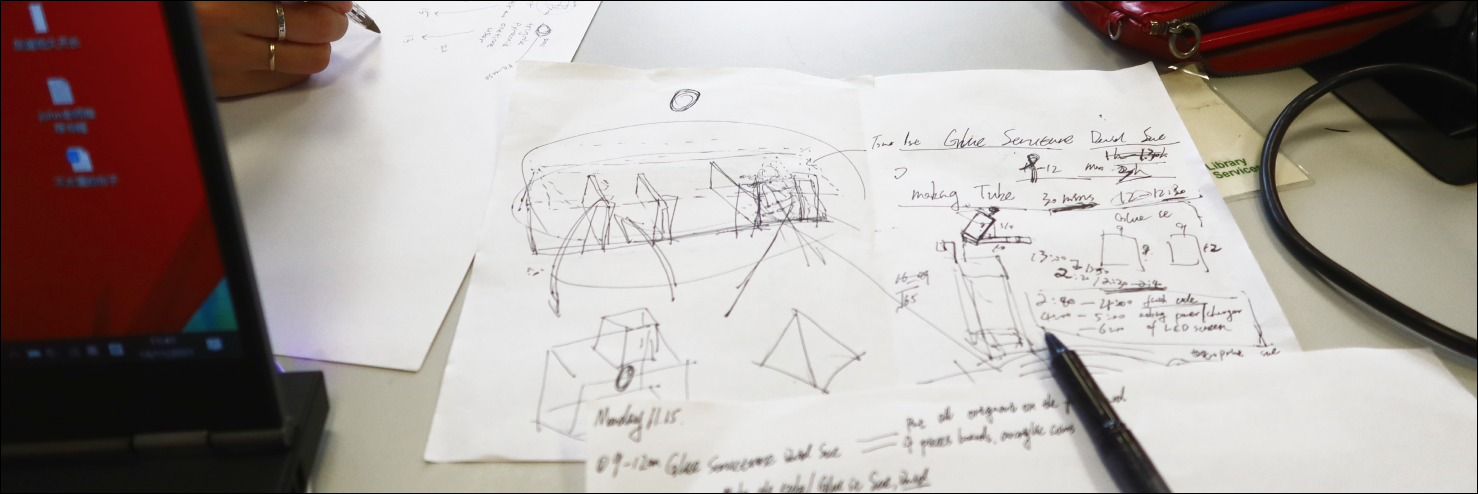
Design Phase
Feedback Analysis
We categorised and summarised the participants'feedback from the second prototype experience testing and considered how to improve the areas of deficiency in the experience. The following feedback summarises the shortcomings of the experience at each layer:

Sort out feedback from user testing & Summary with improving ideas (Made by Group).
1. Application Layer: It is nice to represent different blockchain usage scenarios through different shaped items, but each scenario needs textual descriptions to help participants better understand and engage.
Solution: Add descriptions of each specific application scenario to help participants better understand and get started. We came up with three specific scenarios for using the Bitcoin blockchain: trading Bitcoins (buying or selling); trading NFTs (uploading a work or selling a work); and adding a transaction message (putting a message attached to the transaction).
2. Data / Encryption Layer: The feature of items being digitized or codified is not captured by the current metaphorical model. Participants would prefer a directly transformed feature rather than reflecting this by stamping the items with a coded context.
Solution: Use code lights flashing to represent the encryption process and reflect the encryption structure of Merkle tree by flashing three groups of codes continuously.
3. Consensus Layer: Multiple participants have proposed that more than one person should be involved in the validation activity instead of just one participant, which is against the characteristics of "decentralized" and "distributive". And there needs to be a clear hint after a successful verification.
Solution: Upgrade the verification interaction to a multi-party verification interaction, and the scrolling font on the electronic screen will inform the participants when the verification is completed. The validation experience could not be designed to be too cumbersome (e.g., comparing codes) due to the different levels of understanding of the participants being considered. I came up with a simple and straightforward way to validate by standing in the approval area.
4. Network Layer: The different coloured lights do not correspond specifically to the metaphorical objects of the blockchain. The shape and color of the light-emitting LEDs representing the nodes could perhaps be more varied to correspond to the actual complex network node situation.
Solution: Figure out how the different colours and shapes of the lights refer to the different node types in the blockchain. I suggested using the red rectangular lights as a metaphor for the full nodes; the green and square lights as a metaphor for the light nodes; and the non-illuminated spheres as a metaphor for the nodes that are not online.
Group Discussion about refining our Final Installation's Scale (Courstey of David).

Inspiration of installation (Made by Group).

Inspiration of installation (Made by Group).

Sketch of the shape 1 (Courstey of David).

Sketch of the shape 2 (Courstey of David).

How to implement each layer (Courstey of David).
About size and revealing invisibility: In discussions with Sue, we agreed that the size of the whole installation should not be too large, but should be of a similar scale to a real person, allowing people to bend down and interact with each layer. And we felt that there needed to be consistency and coherence between the layers, so for the shape we chose a rectangular body. Secondly, we wanted to create a sense of peeking into a secret / revealing (because the invisibility of the inner operations of the blockchain is a kind of ‘secret’ to most people), and we came up with several ways to do this, such as opening a drawer, lifting a veil, opening a curtain, or peeking through a hole. We finally opted for a peek through a hole.
Regarding the shape of the hole, I proposed that it could be designed according to the implicit characteristics of each layer. For example, the heavy computation of the encryption layer could lead to energy waste and environmental pollution, so we decided to use the shape of an explosion to suggest the unseen, earth-harming nature of this layer. The consensus layer is one that requires many different people to check and verify the same block, so we decided to use a hole in the shape of an eye to suggest that this layer requires many pairs of eyes. For the network layer we used a hole like a CD or USB socket to suggest the interconnectivity of this layer.
Finalised Design Concept

Final Design Refinement (Made by Group).
Once we had finalised the scale and details of the installation, we created a final concept refinement and technical drawing which included what materials were needed (what size and dimensions), what technologies, the experience of the installation, how participants needed to interact, and how to add criticality.

Technical Drawing about installation's dimensions (Made by Group).
Add Criticality - Reflective Question Booklet

Critical Questions (Made by Group).

Booklet Layout Design (Made by Sue).
We decided to end our whole installation experience with questions that can make people reflect, as we designed it to inspire people to think about the lesser known side of blockchain technology, and critical questions are a good way to do that. We came up with a lot of questions at first, and after filtering and refining them, concised them down to a final few (one or two for each layer).
Experience Flow - Technical Considerations

Technical Journey (Made by David).
Application Layer: Installation of a sensitive switch. A switch needs to be attached to the landing path of the item, enabling the switch to be bumped and triggered when the participant drops the item.
Encryption Layer: three sets of LED lights (green, blue and red), when the switch is triggered, this layer will first light up six green lights in sequence (each corresponding to the string 0d8h31, which stands for me); the green lights will light up for six seconds and then go out, then start lighting up six blue lights in sequence (each corresponding to the string 05n97e, which stands for Sue); the blue lights will light up for six seconds and then go out, then start lighting up six red lights in sequence (each corresponding to the string x7ua3m, which stands for MA UX); finally the red lights will light up for six seconds and then go out.
Consensus Layer: At the end of the second level, the first electronic screen on the third level displays x7ua3m, indicating the final encryption result. Another screen will display Awaiting Verifying, prompting the participant to perform the verification operation. The verification operation requires three ultrasonic sensors, and the second screen will display a verification progress bar when it detects that the participant's foot is in the approved area. The progress bar will display NEW BLOCK GENERATED when it reaches one hundred percent.
Network Layer: Once the third level shows new block generated, the LEDs on this layer (eight red and 20 green) will propagate in a ripple pattern, i.e. from the centre first and then to the perimeter.